1. Before you photograph anything, take time to walk around the room and view the space from several different vantage points to determine the best angle to show off the space. The most obvious angle might not look the best through the camera lens.
2. Unless you have lighting equipment, avoid shooting toward a bright window or you risk the window being overexposed and looking like a big white box in order for the relatively darker interior to be well lit. Turn on all the lights in the room including the range hood and under counter lighting, and shoot on a sunny day without flash if possible to avoid ugly reflections off appliances and cabinets.
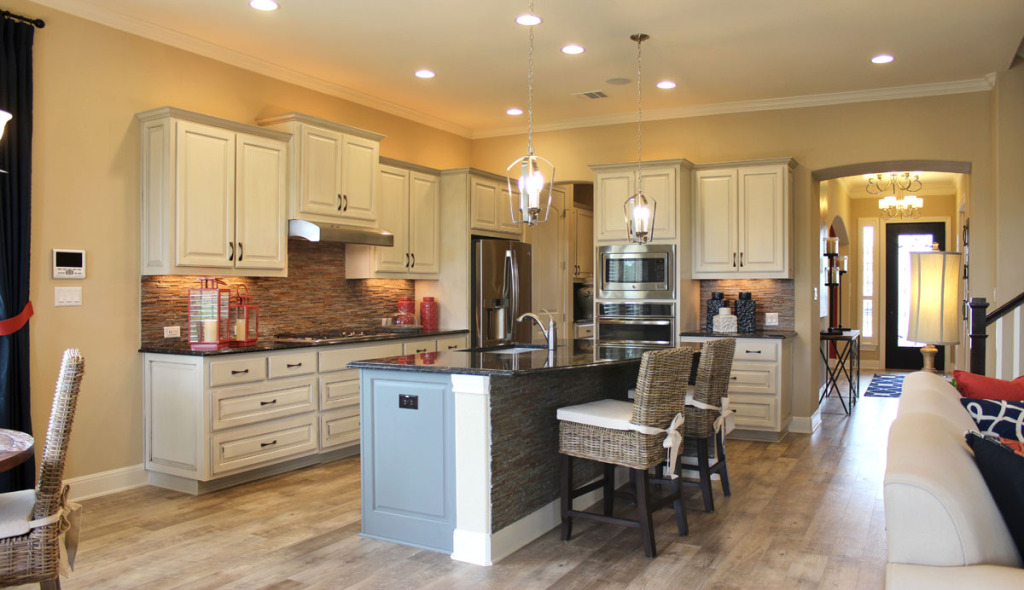
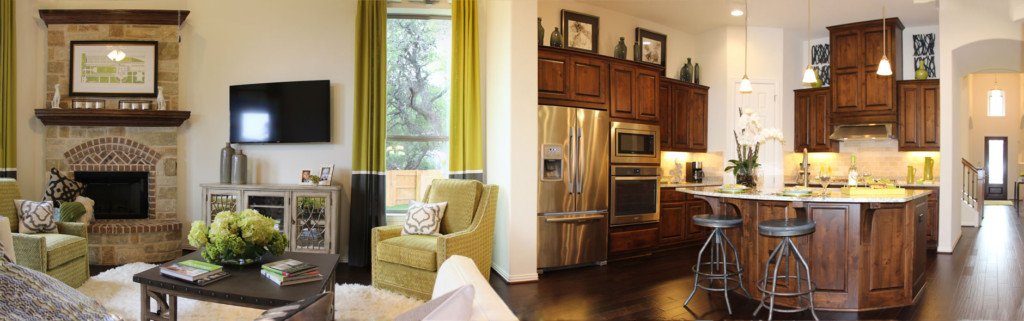
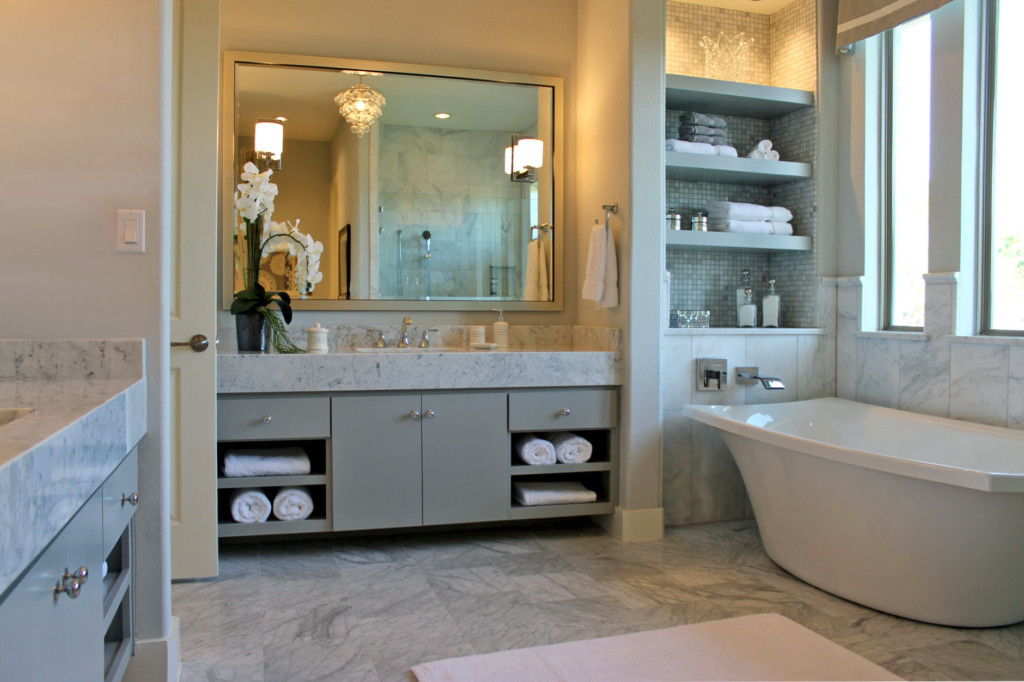
3. Context can do wonders for an interior shot. A nicely decorated great room or breakfast table staged with place settings and a centerpiece or a view from the master bath into the bedroom can make a kitchen or bath photo much more interesting. If you can’t get everything into one shot, consider taking 2-3 photos in a row, moving your camera over only 30% with each photo so you have overlap, and capture a wider area. Then stitch the photos together using photo editing software. Turn a fan quickly on and off so you get a slightly blurred fan blade rotation in the photo.
4. While you are looking for the best angle(s), check for cabinet doors or drawer fronts that are ajar, debris on counters or floors, rugs that need to be straightened, chairs or barstools that need to be spaced evenly, and extra clutter or items like counter top appliances or dishes that should be removed to create a more clean, open space.
5. Always use a tripod with your camera to avoid blurry photos, and preferably use a good 35mm digital camera with a bubble level mounted on the hot shoe (the mounting spot on top of the camera for flash or other accessories).
6. Check the vertical lines in your kitchen or bathroom photo. Cameras that are tilted slightly up or down create slanted foreground/background lines that make the room appear to be falling over. This can be fixed in Photoshop using the skew tool, but is easier to fix if the camera tilt is minimized on the shoot.
7. If possible link the camera to a laptop so you can check clarity and details while you are still onsite. Make sure to zoom in and check each photo before moving equipment to a new angle or area.
8. Shoot some vertical and some horizontal shots. Horizontal shots are typically more useful online due to most websites’ landscape layout, while for print, vertical usually work best. If you see more than one good angle, take time to shoot both, and take close-up shots of interesting elements like ornate corbels, a unique farmhouse sink, wood vent hood, a unique kitchen island, any custom details or organization accessories, etc.
9. Test different heights than just eye level. Sometimes shooting slightly lower than eye level, while still keeping the top of kitchen or bathroom counter visible, looks best. Make sure the camera is shooting level, not tilted up or down if possible (see 6 above).
10. Prop in groups – usually an odd number of items placed together looks most appealing. Avoid small, lonely looking items sitting by themselves. Try to get a snapshot of the space beforehand so you can determine if you need to bring elements of color into the room, using a bowl of fruit, flowers, veggies or colorful accessories.

Below is a link to a great, interactive flow chart pdf that teaches the basics of photography, with boxes that can be clicked to see video tutorials at major camera setup decision points:
http://www.snapfactory.com/startchart/where-to-start-chart.pdf